Translate

Saturday, March 30, 2024

Overflow level


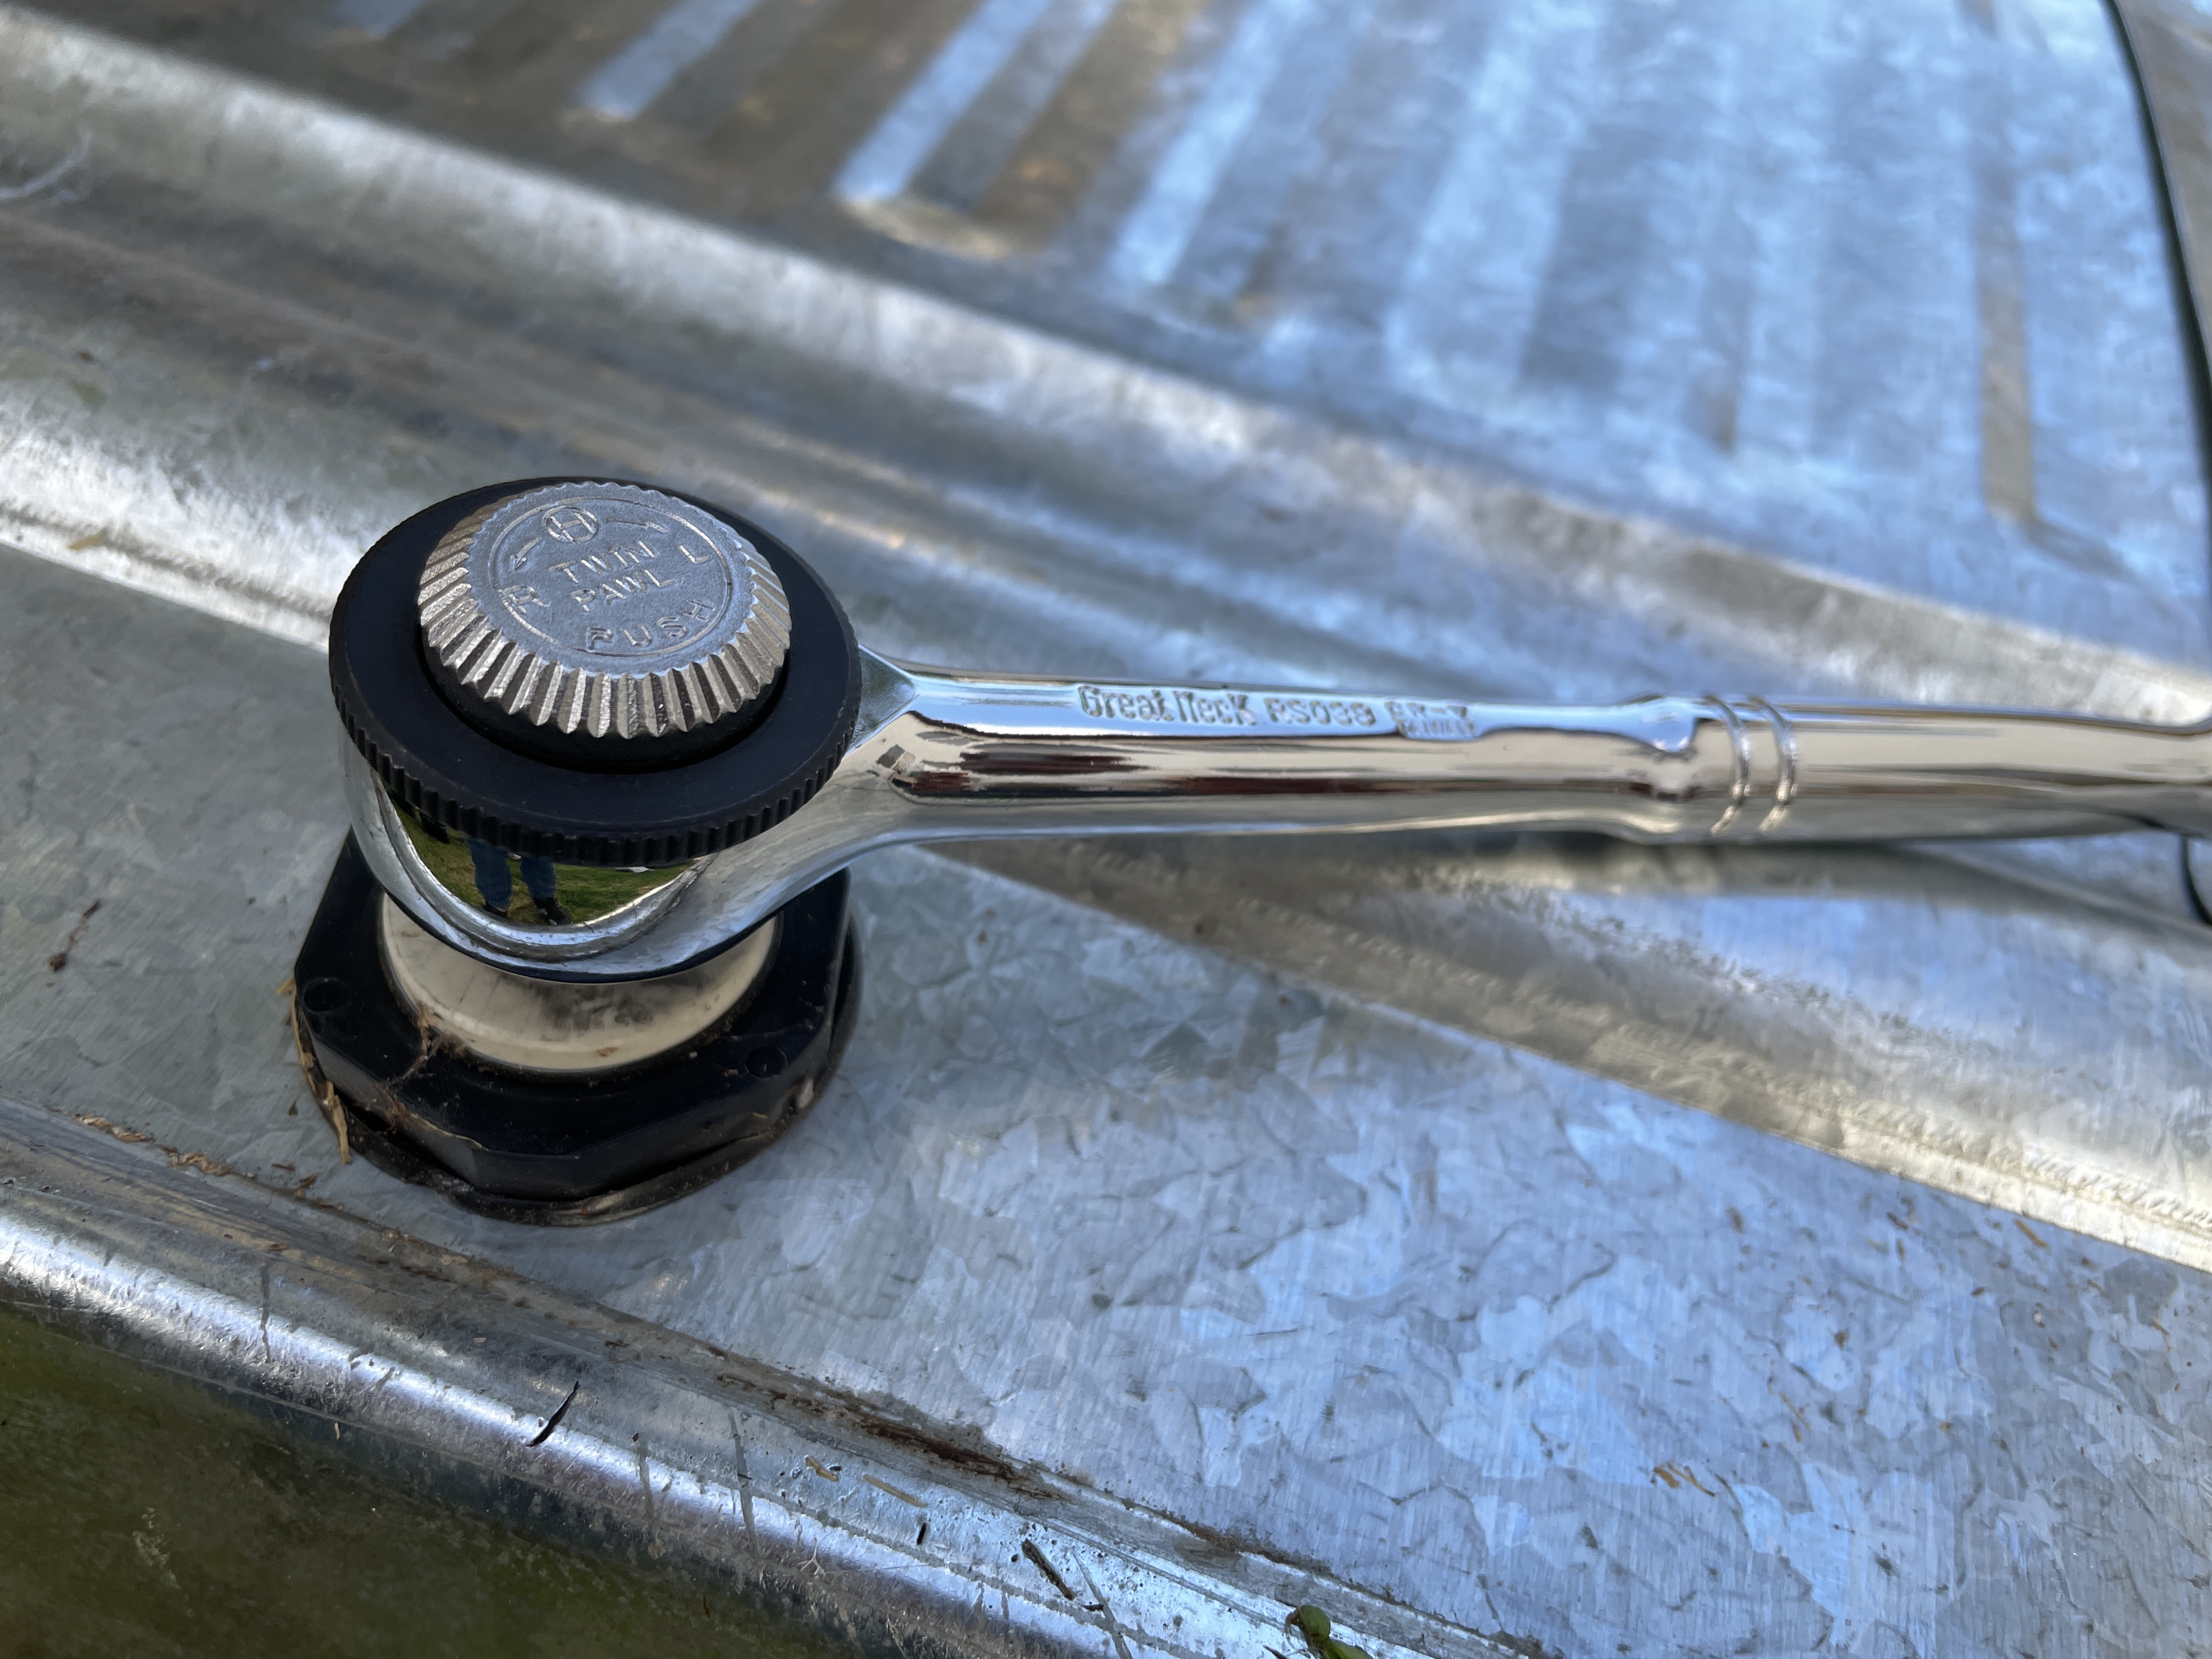
 I saw several videos on people making new holes on their galvanized tub. I don’t have a metal drill cutter - and really you don’t have to do that. A simple elbow attachment with 3-4” pvc pipe is all you need and this odd tool [ratchet] to remove the plug.


On the Belhen galvanized tubs the drain outlet is 3/4”… wish I would have known that sooner because I had bought everything 1/2” pvc.


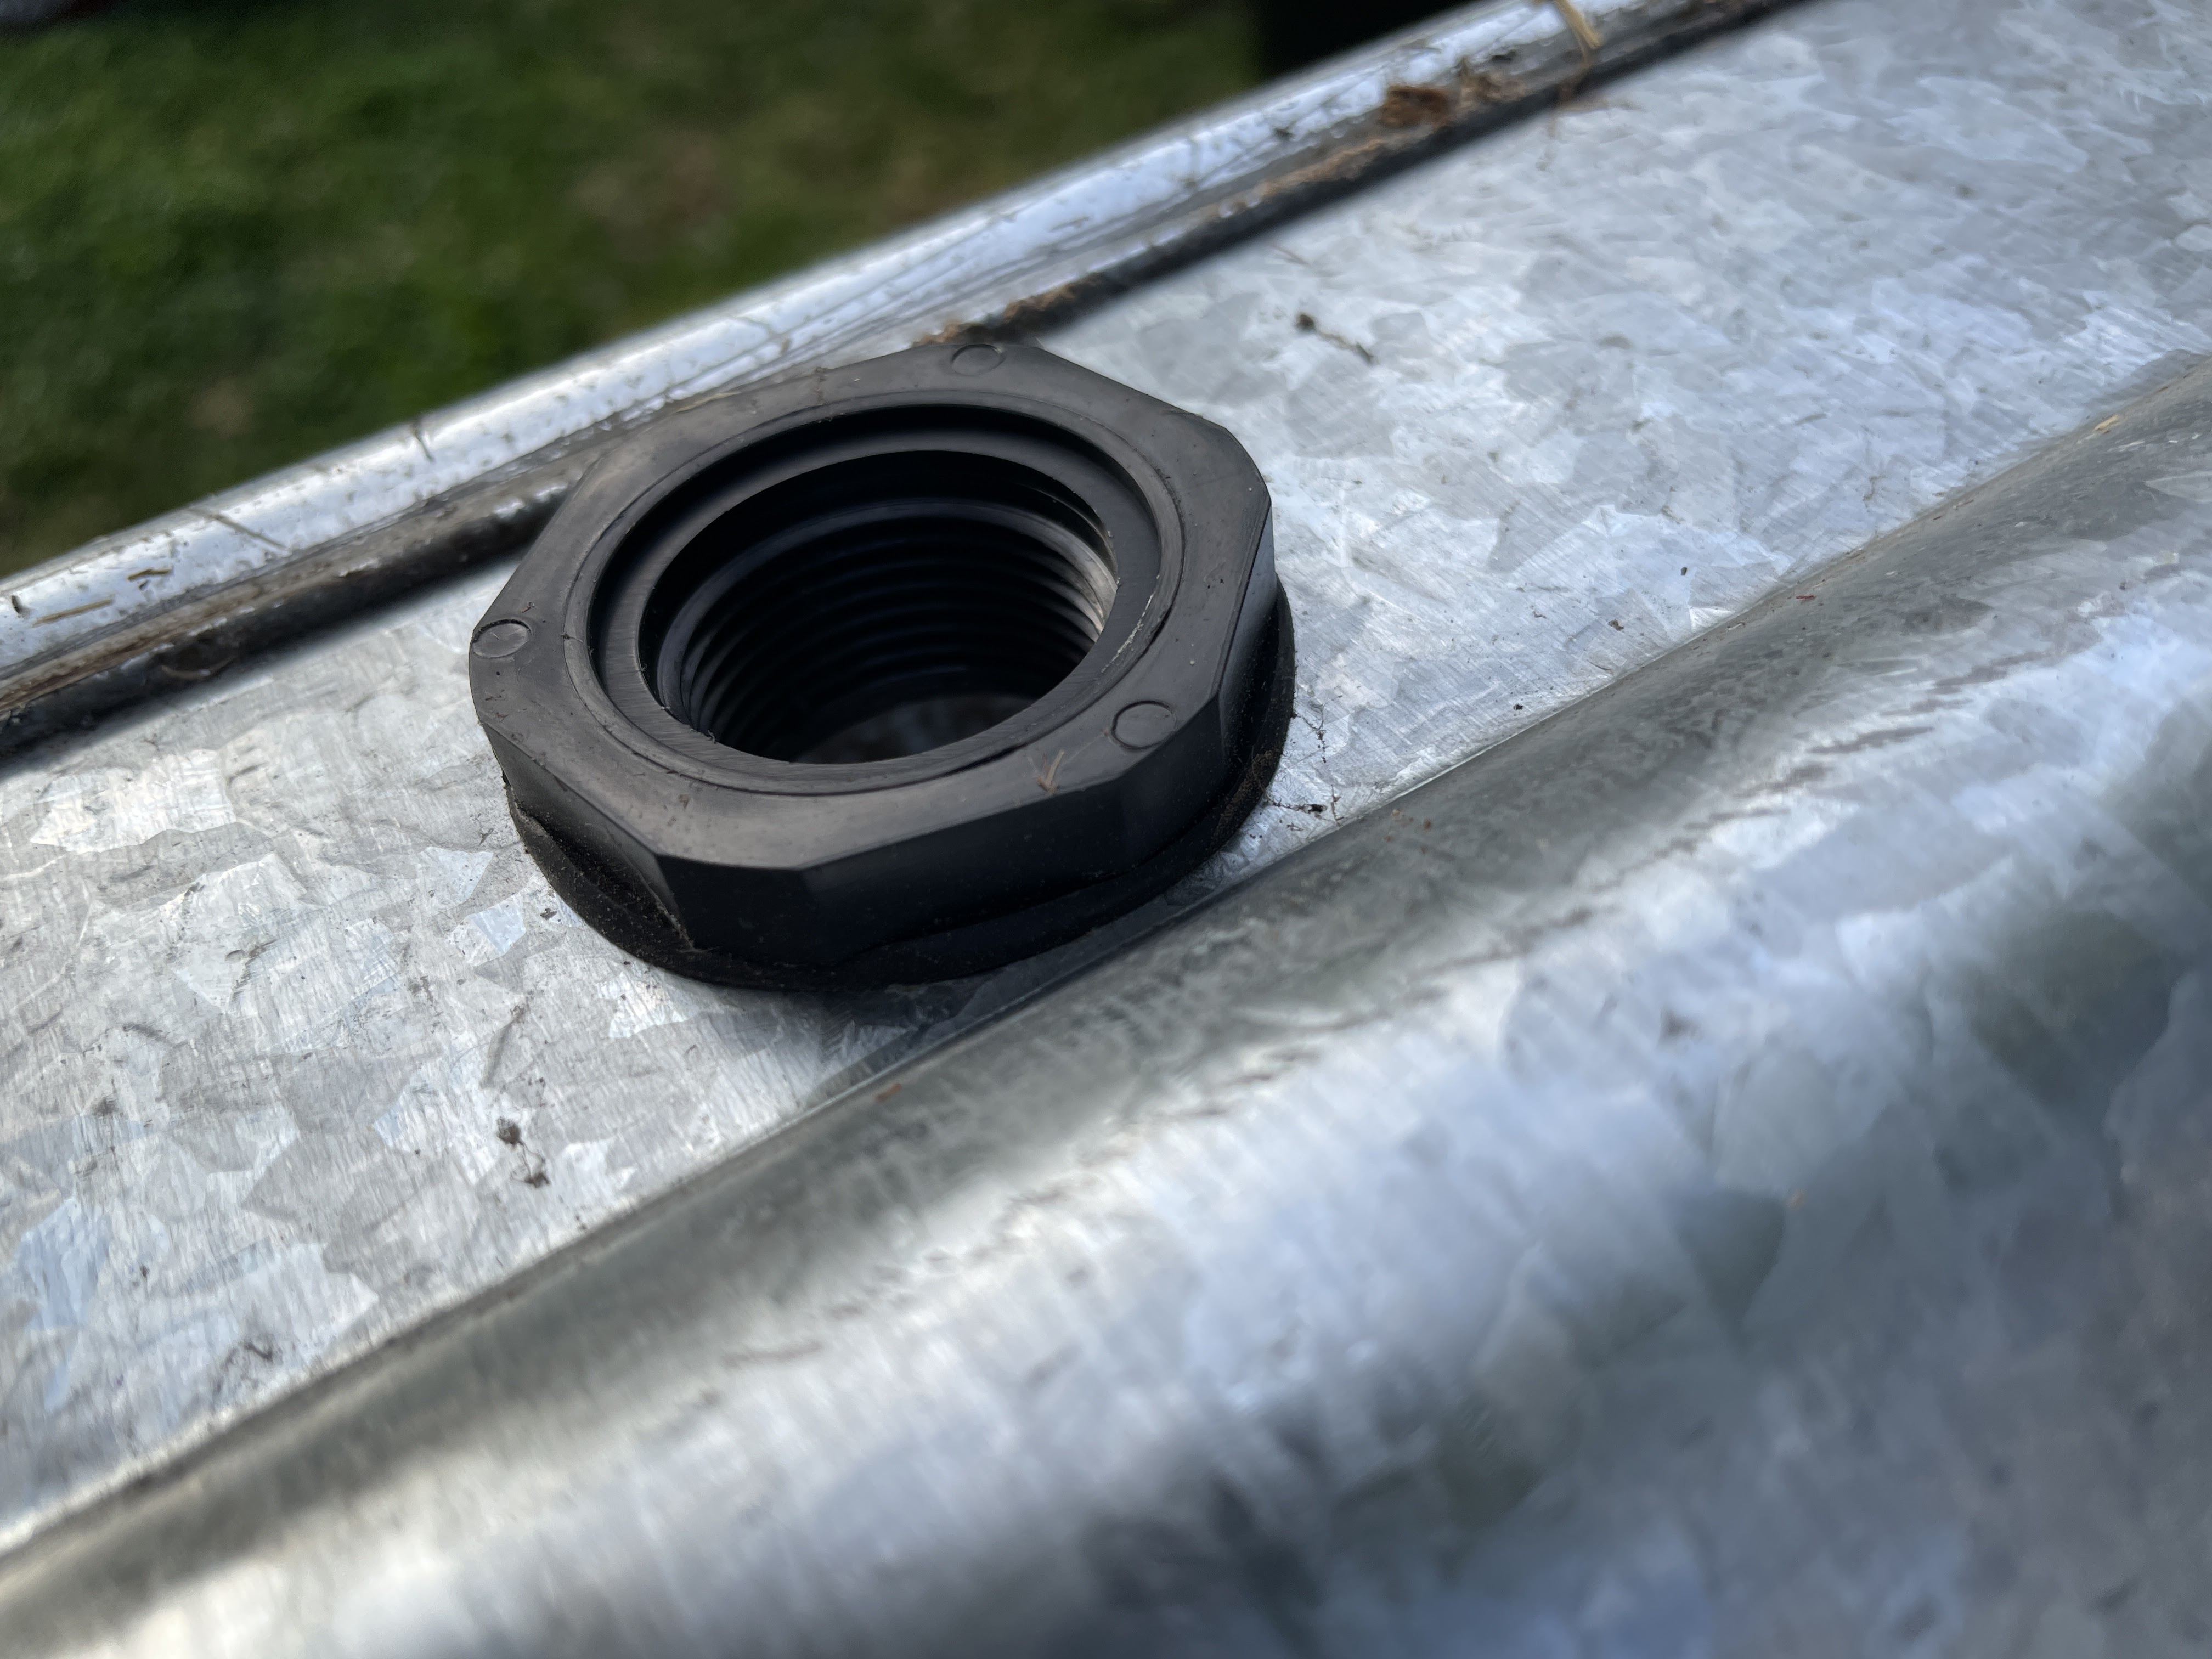
For those like me who have 1/2” pipes… replace outlet drain with a 1/2” outlet drain. If you have a 3/4” elbow that screws into the original drain (like I do now for my 2nd tub) you can skip this step.

This is the inside part.


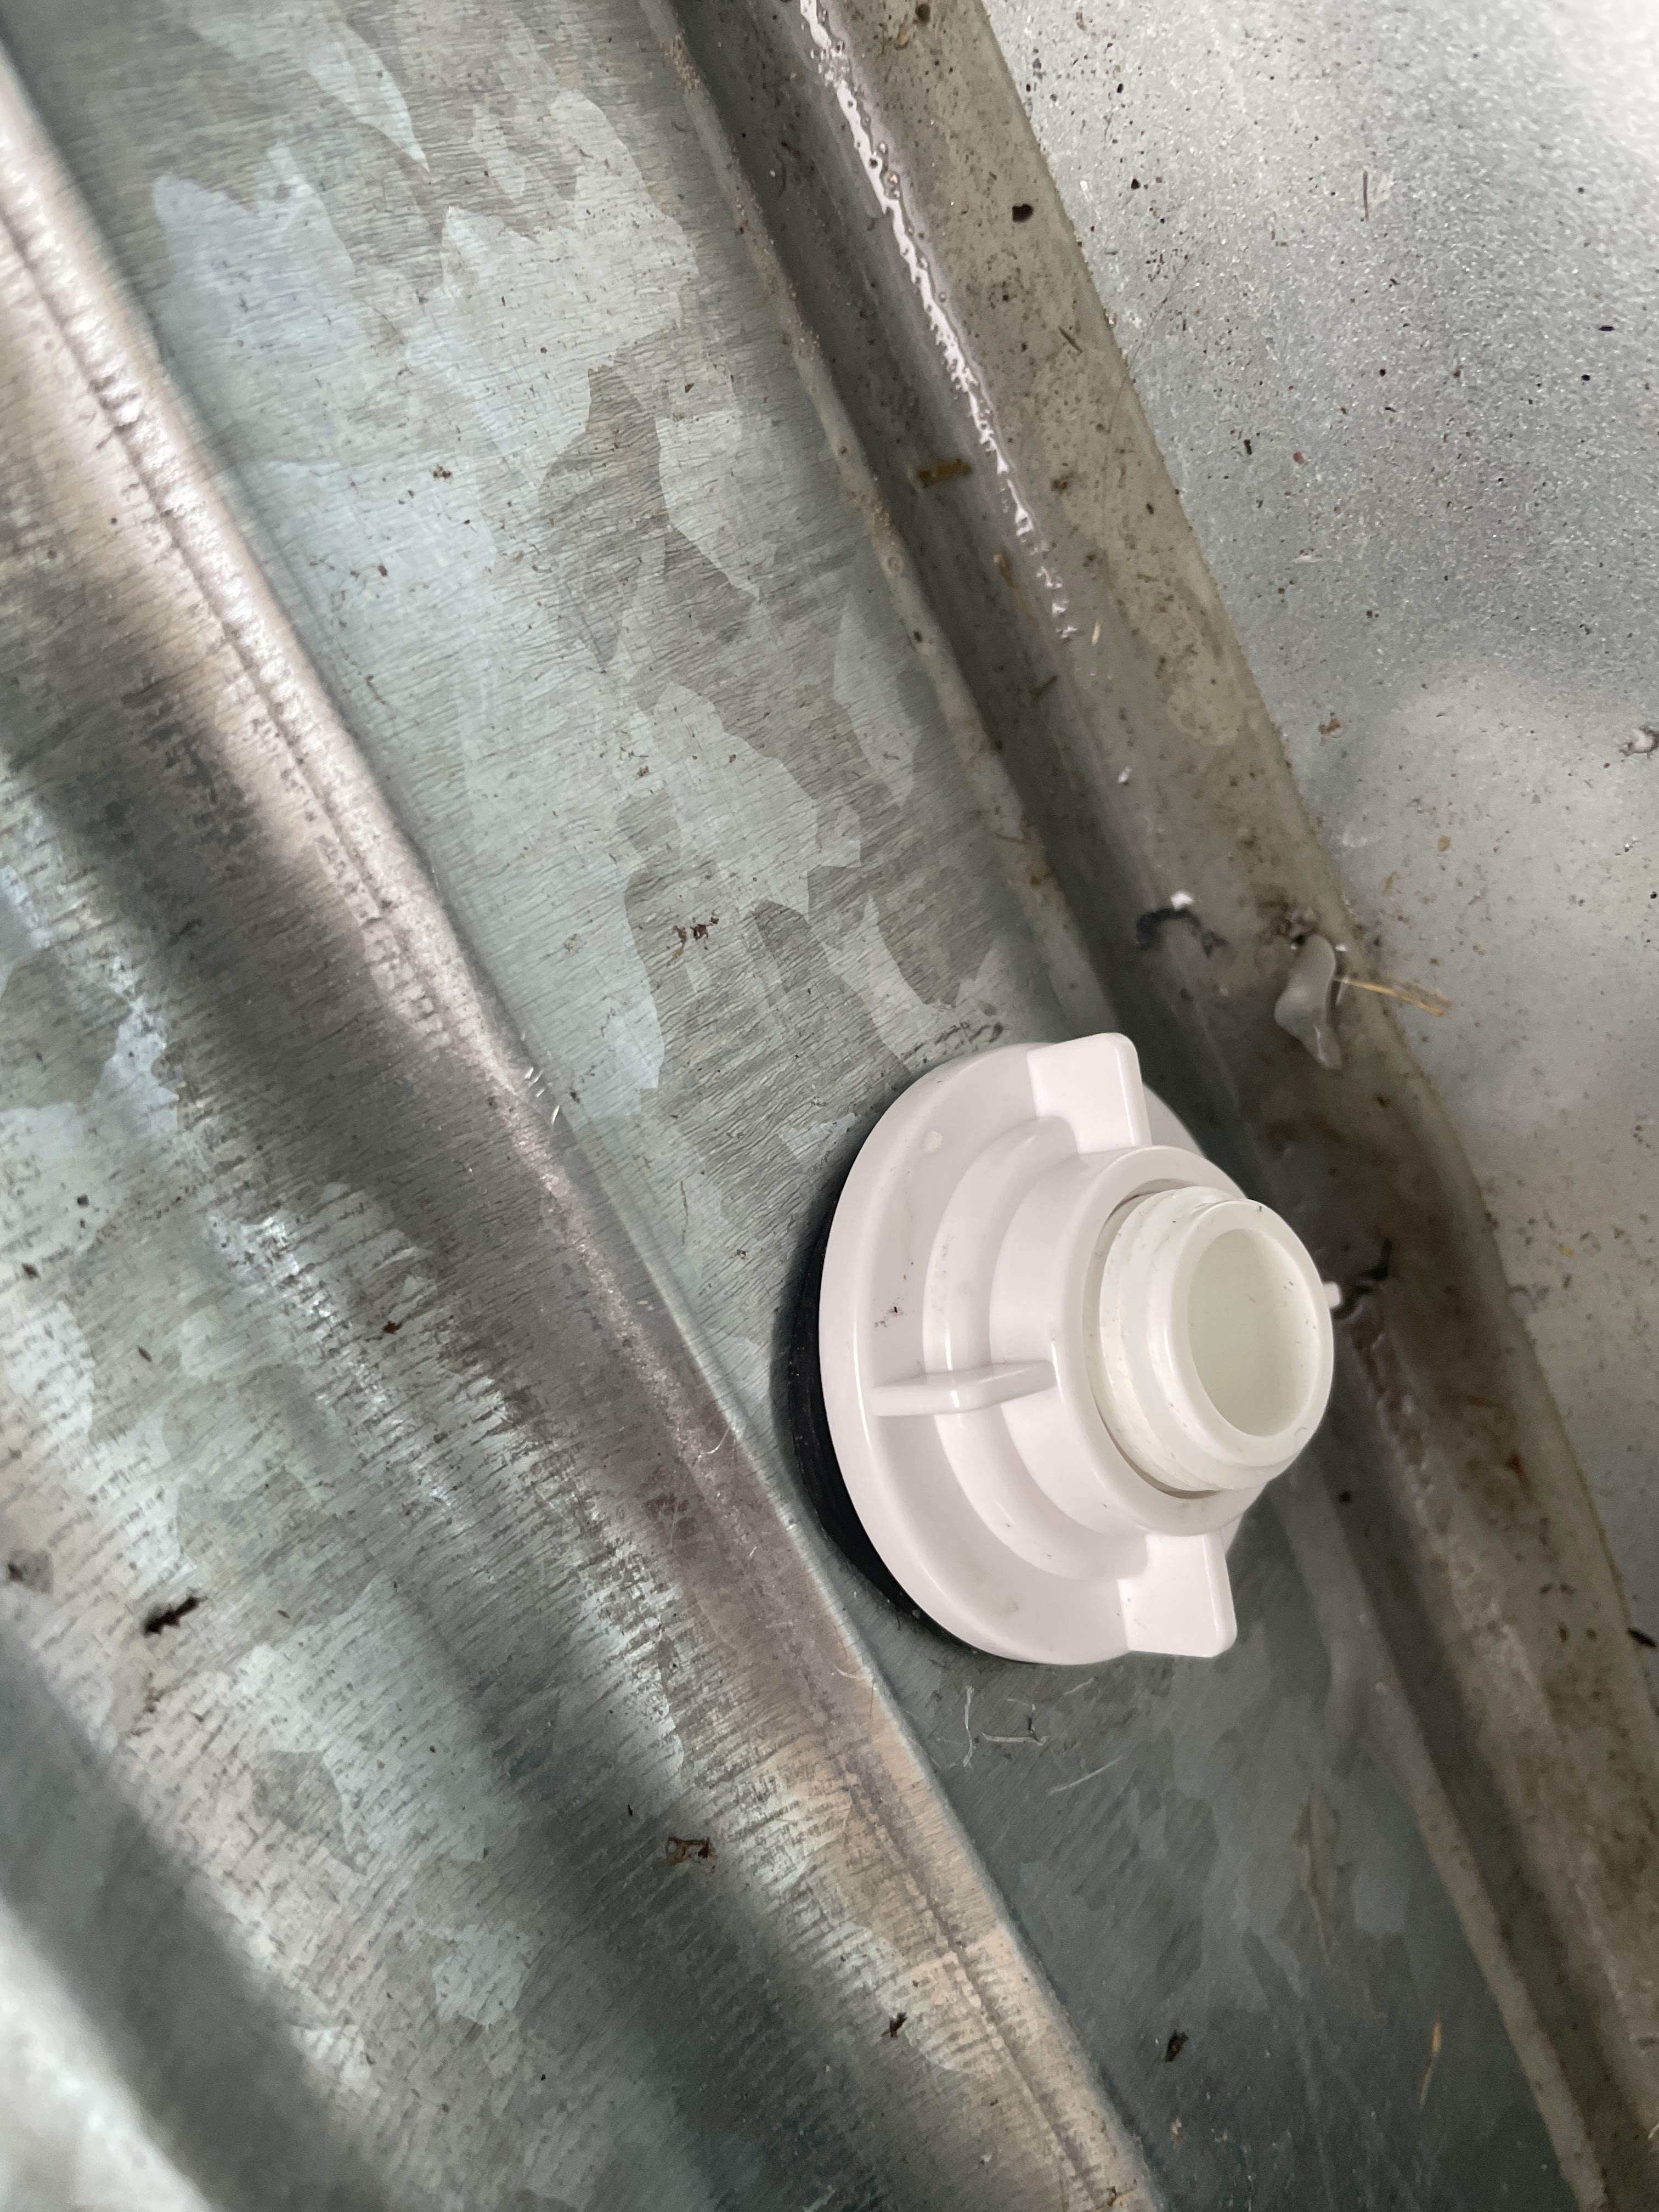
On the outside part, be sure to have an opening that fits a 1/2” pvc pipe or the pipe size you are using.


I couldn’t attach the elbow directly to the top part so I had to cut a 3”pvc pipe to join them. I used 4” black tubing for the top part so I wouldn’t get confused when installing it to the tub.


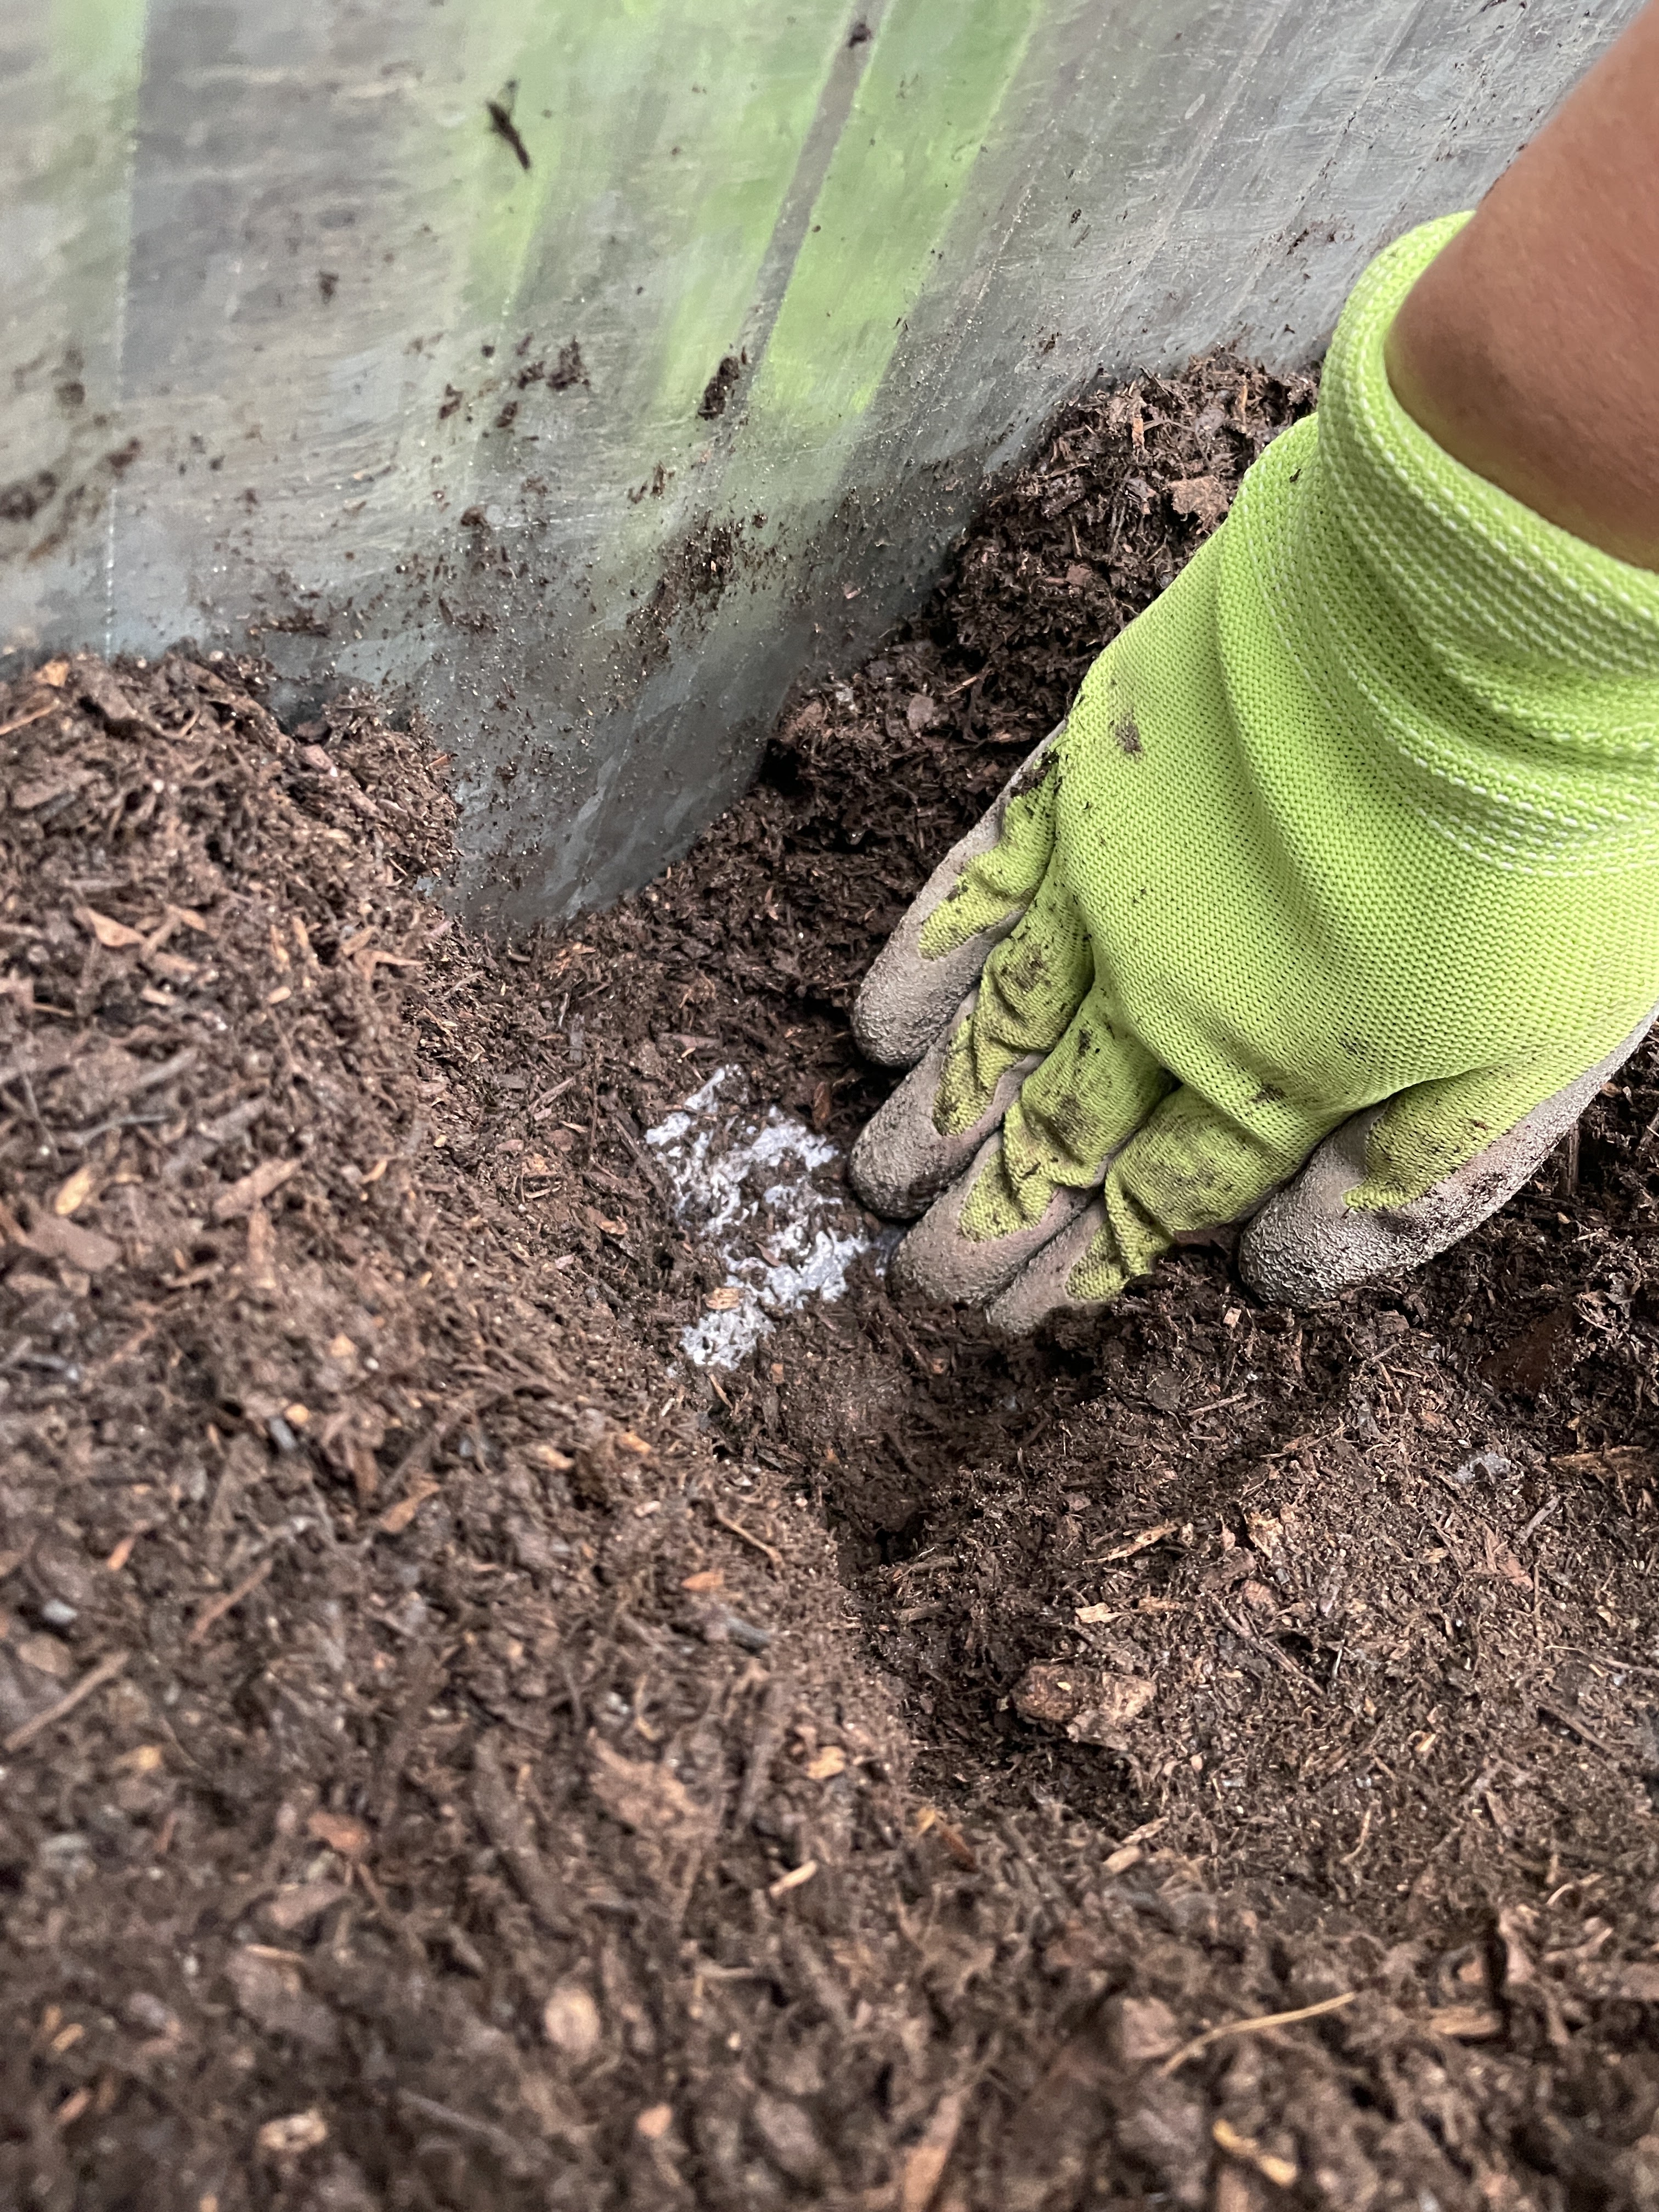
You can zoom in in this picture and see that the clay pebbles are just slightly above the groove line tub. I cut my black tubing just slightly under an inch from that mark.


I filled the tub to make sure the overflow works and doesn’t leak.


On my 2nd tub I found a 3/4 pvc pipe that screwed right in and found an attachment that goes from 3/4” to 1/2” and with just those 2 pieces it was enough for the overflow to work. I haven’t got 4” flexible irrigation Tubing to make sure it’s at the tight height so I’m not 100% sure on the overflow level. But with those 2 pieces I was able to install it in seconds.


Thankfully I installed it before it rained so I can see the water level and how well it holds it. Once it stops raining, I’ll post an update.


Add the soil, worms, compost and plants


We left off part 1 in layering the landscape fabric.  I need to add a tube to fill the water reserve. The fabric has 2 purposes: absorbs water and blocks soil from going into water reserve. The clay pebbles under the fabric also absorb water. These two elements help the soil from rotting while insuring water gets absorbed up.


I made a hole in the fabric. I also cut the pvc pipe on an angle so the water can flow thru and the pipe won’t suction.


I placed my pots to see how many would fit and begin thinking of what to grow in the tub. These empty pots will be filled with worm-loving kitchen scraps. 


We filled the tub with 4” of coir, potting soil and garden soil. Many advise to only use potting soil and coconut brick soil- but that wasn’t within my budget so I had to mix with 1/2 garden soil and potting soil and some coir.
Potting soil and coconut coir are super absorbing materials that will help wicker the water up to the plants. I also lightly misted the soil to help it maintain its moisture. This layer of soil will be like a worm super highway.  They will use this soil to “travel” from pot to pot in search of food.    


Then I added my composting worms with some of their food.  They quickly began to burrow down. I spread them and there food throughout the soil so they could have room to wiggle.


Why 2 pots?  The bottom pot holds composting worms and kitchen scraps that worms like. The top pot holds the plant. The worms travel back and forth from pots to help improve soil with their casting (poop) the liquid and moisture they release help moisten the soil for the top plant. 


When kitchen scraps are about halfway in pot, I cover with an inch of soil and begin adding to a new pot.
 

My plan is to fill the tub with more potting soil and plant in the tub some root vegetables.

Starting Wicking Beds

Part 1: wicking raised bed with composting worms

 Living in a drought state I feel a need to do my part to help the environment- but I also love gardening. How can I water with wasting too much water… and when my plants need me the most during summer. I’m usually out on road trips and forget to water.

In Casa Castillo (aka my parents’ home) I decided to experiment with a wicking raised bed.  I pick tall galvanized tubs so that they don’t need to bed over too much when gardening. The height also gives plenty of room to store about 4-6” of water in a reserve. There’s already a plug hole on the side making it easy to drain out excess over flow water.

How does it work:

(I found this image online, if it’s copyright infringement please let me know and I’ll remove it or if you are the owner of this photo let me know so I can give you credit).

This is something that companies already make if you don’t want to make your own. I bought a few and planted onions, and garlic in them.


With a galvanized tub I save the step of adding a pond liner since the tub is meant to hold water. But if you are using a wine barrel, pallet/wood bed, adding a pond liner is an important step.

Finding a location: this thing is large and will get heavy! Think of the size and where it will stay for the next 5-10years or more. 


After finding the right spot. I had to tweak the plug a little: first I removed the plug. This was 3/4” hole, and I had bought the pvc and elbow at 1/2”, so I replaced it. Later I discovered they sell 3/4” pvc elbows and parts that fit this hole perfectly. So save a step and buy 3/4” attachments.

I also had to buy the tools to remove that drain outlet.

Add the 1/2” pvc parts:

Outside tub

 Inside tube 

Then attached 3” pvc pipe to the elbow the another 4”irrigation rubbing or pvc pipe so the water stays inside tube at a certain level. I didn’t glue it, as I want to move it up or down Incase the tub needs more or less water. Cut the irrigation (black) tubing about an inch lower than the height of water level. This is so soil doesn’t sit in the water and rot. This also helps roots not to grow into water basin.

Anything can be used to hold water. Some people use flexible drain pipes, flower pots, cinder blocks- I used 4” plastic fruit boxes. Since the holes were too big, I layered garden netting over it so the clay pebbles fill around and over it. 

We then filled the sides and about 2inches on top with clay pebbles.

To prevent the soil sinking down into the water, we place a layer of lawn fabric over the pebbles.


We filled the tube with water so clay pebbles can absorb water and to check for leaks.

The next step will be to add soil, composting worms and plants.